


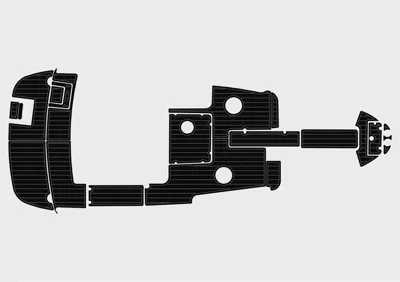


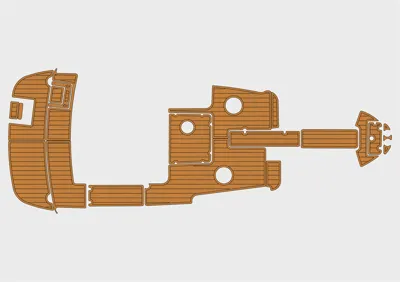
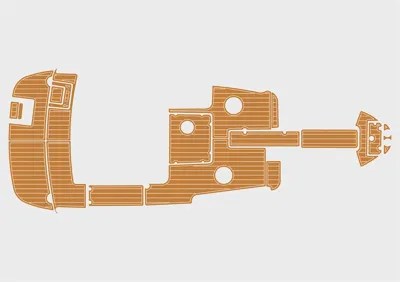

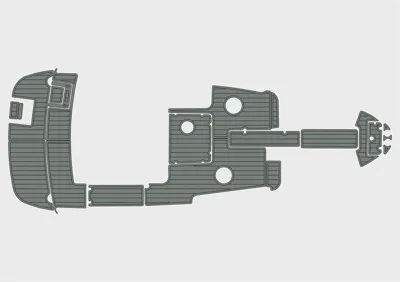


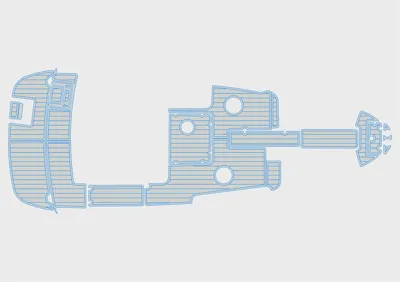


2000-04 Rinker 212 CAPTIVA BR – SIZE: 8.97
Description
EVA Decking Application Instructions
Tools
1) Sharp razor knife
2) Isopropyl Alcohol 90% (Propan-2-ol)
3) Acetone (Propan-2-one)
4) Masking Tape
5) Clean Rags
Installation Recommendations
1) Only install EVA Decking in temperatures between 50° F to 100° F (10° C to 38° C)
2) Do not attempt to adjust or move once the installation process has begun.
3) To prevent distortion, avoid pulling, stretching, or compressing pads during installation.
Preparation
Use acetone and a clean rag to remove all grease, adhesive, mold-release, wax, dirt, and other
substances from the areas where EVA Decking is going to be installed. Next, use isopropyl alcohol
and a new clean rag to remove all leftover residue. Ensure the area is completely dry before
continuing (approximately 30-60 seconds after the acetone was applied).
Installation
1) Before pulling back any paper backing, lay out the pads in their designated locations to verify
that the fit and spacing is correct.
2) Identify the first pad to install, then turn the pad over so that the adhesive backing is face up.
With a sharp razor knife, carefully cut the paper adhesive backing from the center of the pad
towards the edges (center to top edge, center to bottom edge) to ensure it does not rip. Be sure
to completely cut through the adhesive backing but DO NOT cut into the pad.
3) Now starting from the center cut you just made, peel back 2” (5 cm) of the paper backing and
fold to crease it. Repeat on the other side. Fold both pieces of the paper backing in place to cover
the adhesive.
4) Turn the pad back over and reposition it exactly where you want it installed.
5) Firmly secure one side of the pad to the surface area using masking tape. Taping prevents the
pad from moving.
6) Lift up the side that is not taped down and peel the paper backing to the crease. Gently lay the
pad back in place.
7) Firmly press down on the pad where the exposed adhesive is. Apply pressure from the center
of the pad outward (center to top, center to bottom) to ensure no
Related products
$2,395.00
$1,995.00
$1,695.00
$1,995.00


